



Step-by-Step Guide to Using a Robot Welding Torch
 Jul 06, 2026|
 View:674
Using a robot welding torch involves several clear steps. First, select the robot welding torch that fits your welding needs. Safety comes next — always wear protective equipment and check the workspace before starting. Then set up the torch by mounting it securely and connecting the power and gas lines, program the welding path and parameters, start the process while monitoring quality, and troubleshoot as needed to keep the system running efficiently. Following each step in order helps operators achieve strong, repeatable welds in an automated production line.
Key Takeaways
Select the right robot welding torch based on your specific welding needs and duty-cycle requirements.
Always prioritize safety by wearing protective gear and completing a workspace check before every shift.
Organize the work cell effectively to reduce errors and improve throughput.
Properly program the robot welding torch to define the welding path and parameters for consistent, high-quality welds.
Monitor weld quality continuously and make real-time adjustments to prevent defects.
Perform routine maintenance to protect the torch and extend its service life.
Understand the difference between air-cooled and liquid-cooled torches to pick the right option for your project.
Contact the manufacturer for support when facing complex issues or unexpected equipment downtime.
Preparation for Robotic Welding
Assessing Welding Needs
Robotic welding begins with a careful assessment of the project. Part repeatability is essential — parts must be positioned the same way every time to achieve uniform welds. Operators need proper training to manage the system, and because robotic welding tends to produce more fume, extra safety measures should be in place to protect workers[1]. Material and joint type also affect the choice of torch and settings: steel, aluminum, and other metals respond differently, and butt, lap, and T-joints each call for their own parameters.
Selecting the Right Equipment
Changzhou Golden Globe offers a range of robot welding torches designed for automated welding cells. The BW ROB350 and BW ROB350GC models suit high-volume production, handling wire sizes from 0.8 mm to 1.6 mm and supporting CO₂ and mixed-gas applications. For heavier tasks, the BW W500 and BW 42W liquid-cooled torches provide superior heat dissipation, while the BW A500 is built for complex, seamless 360° welds.
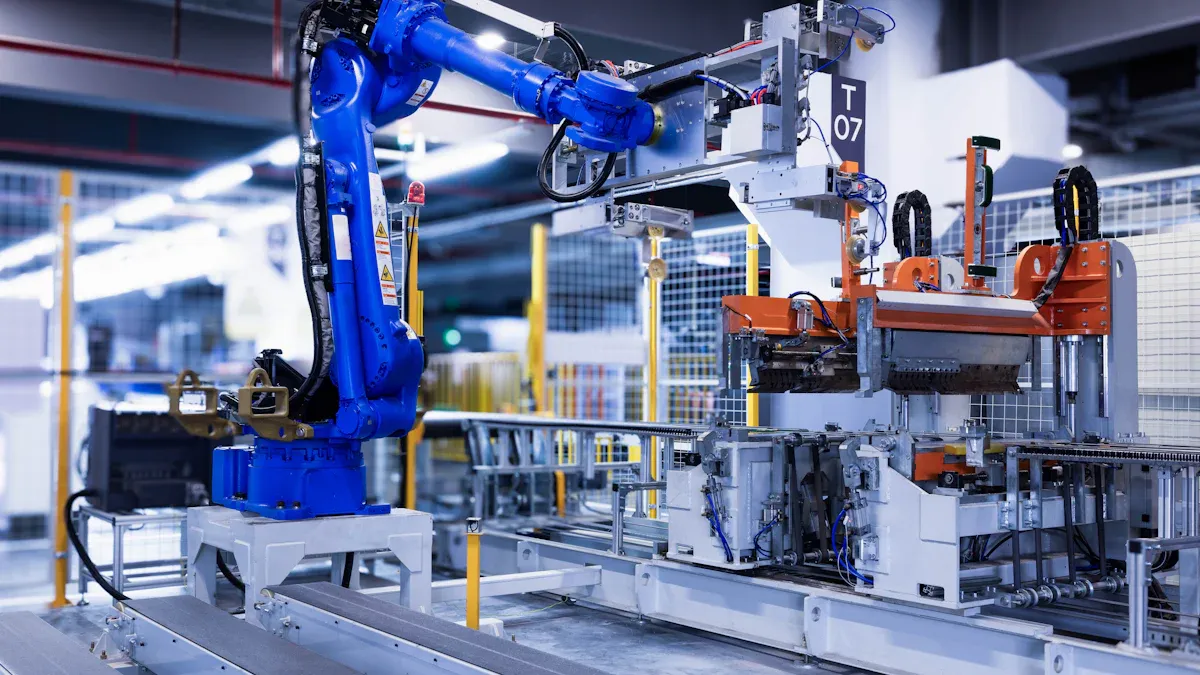
Tip: Match the torch model to the application. High-load jobs need liquid-cooled torches, while lighter tasks can use air-cooled models.
| Feature | Air-Cooled | Water-Cooled |
|---|---|---|
| Duty Cycle | 50% or less | 60% or higher |
| Amperage Range (MIG) | 150–600 A | 300–600 A |
| Cooling Method | Ambient air and shielding gas | Radiator cooling system |
| Weight | Heavier, thicker copper cables | Lighter, less copper in cables |
| Maintenance | Less maintenance required | More maintenance required |
| Cost | Lower initial cost | Higher due to added equipment |
| Best suited for | Thinner metals, low duty cycles | Thicker metals, higher duty cycles |
Tools and Personal Protective Equipment
Proper preparation ensures a safe and efficient cell. A risk assessment should identify hazards before setup begins, and the checklist should include collision-detection sensors, emergency stop buttons, and welding curtains, all tested and inspected regularly. Personal protective equipment — eye and hearing protection, safety footwear, gloves, and a welding shield — protects operators from sparks, noise, and fume, following the PPE guidance published by OSHA[1] and the fume-exposure research maintained by NIOSH[2].
Need Help Choosing the Right Robot Welding Torch?
Our engineering team can match a torch model — air-cooled or liquid-cooled — to your amperage, duty-cycle, and production requirements, and provide OEM/ODM options for your welding cell.
Send an InquiryRobot Welding Torch Setup
Workspace Organization
A well-structured cell improves productivity and reduces errors. Best practice is to involve welders early, since their hands-on experience helps catch issues before they become problems, to start with simple, repeatable welds while building confidence, and to use durable fixtures so parts sit in the same position every time. Keep torches, wire spools, and consumables within easy reach, store PPE in a designated area, and mark pathways clearly to avoid collisions between robots and workers.
Torch Installation
Mounting the torch requires precision. Align it with the robot arm's mounting bracket, use the correct bolts and torque settings, and double-check orientation so the torch points the right way along the welding path. Many modern torches include anti-collision features such as arm mounts and clutches that protect both torch and robot during accidental impact.
| Feature | Description |
|---|---|
| Arm Mount | Keeps the robot in place during collision detection, shutting the system down |
| Clutch | Activates on impact, stopping the robot to prevent further damage |
After mounting, secure the wire feeder, coolant lines on liquid-cooled models, and all sensor cables, tightening every fitting to spec — loose connections are a common cause of poor weld quality or equipment failure.
| Common Mistake | Prevention Method |
|---|---|
| Burnback and premature contact-tip wear | Trim the gun liner properly, use quality wire, adjust welding parameters |
| Nozzle or fixture misalignment | Position the torch correctly and use alignment tools |
| Loss of tool center point (TCP) | Tighten consumables to correct torque; avoid cross-threading |
| Incorrect tool paths | Program the robot to avoid contact with fixtures and walls |
Power and Gas Connections
Use the correct voltage and amperage for the torch model, and confirm every power cable is undamaged and firmly attached. Attach the gas line to the torch and regulator, use the correct shielding gas for the application, and check for leaks by listening for hissing or using a leak-detection solution. Secure all fittings so the flow rate matches the welding parameters — proper attachment prevents porosity and helps ensure clean, strong welds.
Robotic Welding Programming
Path Teaching
Manual teaching — guiding the robot through the desired path with a handheld pendant — suits simple tasks and new operators, allowing immediate feedback. Offline programming instead uses software to create and simulate the welding path, supporting CAD integration and reducing the need for operators to work near an active robot.
| Method | Advantages | Disadvantages |
|---|---|---|
| Offline Programming | Minimized downtime, enhanced safety, higher accuracy, flexible changes | Requires software investment, complex setup |
| Manual (Online) Teaching | Immediate feedback, simple for basic tasks, lower initial cost | Interrupts production, limited optimization |
Parameter Configuration
Selecting the right welding mode — MIG, TIG, or arc — and setting voltage and current correctly are critical: too much or too little current can cause spatter, weak welds, or poor penetration.
| Welding Type | Current (Amps) | Voltage (Volts) |
|---|---|---|
| Arc Welding | 100–600 | 18–36 |
| Laser Welding | 500–6000 W | N/A |
Calibration and Dry Run
Calibration should include measuring gas flow at different settings, checking the integrity of regulators, hoses, and connections, verifying the robot's home position, calibrating the tool center point using the 4-point method, and confirming input/output signals. A dry run — testing the programmed path without actual welding — helps catch collisions or path errors before production begins.
Operating the Robot Welding Torch
Starting the Welding Process
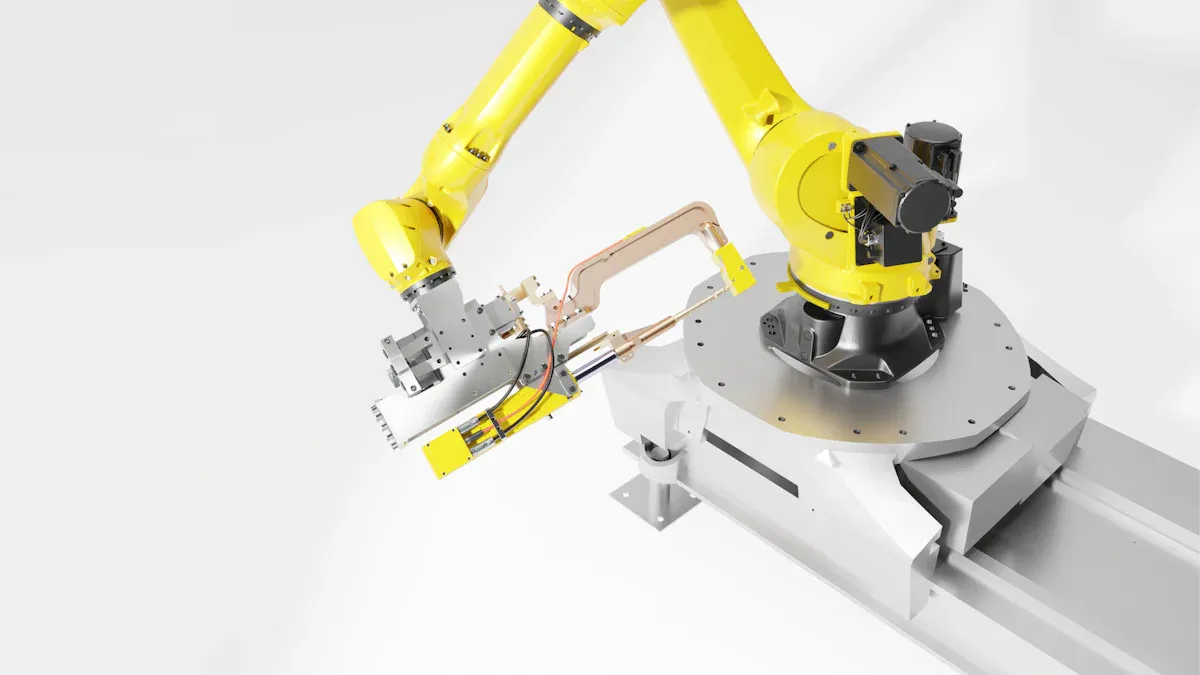
Program initiation typically follows a set sequence: select the weld-start program, review movement parameters, set the approach distance and travel speed, define the retract distance for a safe exit, add a final positioning move, then confirm all settings. Operators should closely monitor the first welds in any new sequence for correct torch movement, arc stability, and shielding-gas flow, pausing immediately if the torch deviates from its programmed path.
Monitoring and Adjustments
Consistent monitoring keeps quality high. Sensors should be positioned to reduce noise, sampled at a rate suited to arc welding, and validated against a sample of known-good parts before thresholds are tuned to avoid false rejects or missed defects.
| Method | Description |
|---|---|
| Sensor Placement & Wiring | Position sensors correctly to reduce noise and improve accuracy |
| Reference Part Selection | Validate against known-good parts before setting thresholds |
| Statistical Process Control | Track trends over time to catch issues before they become defects |
| Seam Tracking | Keep the torch aligned to the joint even if the part varies |
Real-time seam tracking keeps the torch aligned with the joint even when a part is not perfectly positioned, and adaptive control can automatically correct for small deviations as welding proceeds — features that matter most in high-volume runs, where even a small error can cause significant downtime.
Safety and Troubleshooting
Safety Practices
Clear emergency-shutdown procedures and regular drills help prevent injury. Training should cover emergency stop use and evacuation routes, and a proper risk assessment should flag hazards such as electric shock and UV radiation. Operators should wear flame-resistant clothing, leather gloves, and a welding helmet with an auto-darkening filter — protection consistent with OSHA's welding, cutting, and brazing standards[1] and the occupational exposure guidance NIOSH publishes on welding fume[2].
| Maintenance Task | Frequency | Purpose |
|---|---|---|
| Cable Inspection | Daily | Prevent electrical hazards |
| Nozzle Cleaning | Every shift | Reduce spatter buildup |
| Sensor Testing | Weekly | Ensure collision detection works |
| PPE Check | Before shift | Maintain operator safety |
Common Issues
Excessive spatter often traces back to mismatched voltage and wire-feed speed or worn contact tips, and can usually be fixed by optimizing parameters or adding an automatic nozzle-cleaning cycle. Undercut and lack of fusion tend to appear when travel speed is too high or the torch angle is off; slowing the travel speed and recalibrating the tool center point typically resolves both. Burn-through and distortion point to excessive heat input, which pulse welding, better fixture design, and balanced sequencing can prevent. Wire-feed problems are commonly linked to incorrect liner length or mismatched drive rolls, so verifying both against the wire type is the first troubleshooting step.
If a torch malfunction occurs, stop the welding process, inspect all connections, replace any damaged parts, and recalibrate the system before restarting.
Maintenance and Support
Routine Care
Regular care extends the life of a robot welding torch. Check wire-feed spools for tension, inspect cables visually for kinks or wear, listen for air leaks in pneumatic lines, and verify the tool center point weekly to catch any drift off the seam. Test safety interlocks monthly, lubricate joints on the manufacturer's schedule, and back up all programs and calibration data as part of routine care. Regularly cleaning weld spatter from the gas nozzle also helps maintain proper shielding-gas flow, since spatter can't be eliminated entirely — only managed through consistent cleaning intervals.
| Consumable Type | Replacement Interval |
|---|---|
| Contact Tips | 4–8 hours of arc time |
| Nozzles & Gas Diffusers | 1–4 weeks |
| Insulating Discs | 2–6 weeks |
When to Contact the Manufacturer
Some issues call for expert support — repeated consumable failure, problems that appear right after reprogramming, unplanned downtime during troubleshooting, or a fault that needs specialized diagnostic skill. Changzhou Golden Globe's technical team supports customers with complex troubleshooting, maintenance planning, and system upgrades, alongside high-quality consumables and torch models built for durability.
| Cost Category | Annual Range | Notes |
|---|---|---|
| Preventive maintenance program | $2,000 – $5,000 / robot | Labor, lubricants, batteries, backup procedures |
| Consumables (tips, nozzles, liners) | $1,000 – $2,000 / robot | Contact tips are typically the largest share |
| Annual OEM service | $3,000 – $8,000 / robot | Third-party providers may offer lower rates |
| Unplanned repair (no PM program) | $15,000 – $30,000+ / incident | Emergency service, expedited parts, lost production |
Using a robot welding torch well comes down to careful preparation, precise setup, accurate programming, attentive operation, and consistent safety checks.
| Best Practice | Description |
|---|---|
| Preventive Maintenance | Regular checks prevent costly repairs |
| Proper Consumable Installation | Reduces downtime and extends torch life |
| Regular Cleaning | Keeps equipment free of debris for quality welds |
| Tight Connections | Maintains accuracy and repeatability |
For advanced needs, Changzhou Golden Globe's team can provide reliable MIG torch solutions and expert advice tailored to your welding requirements.
FAQ
What is a robot welding torch?
A robot welding torch is a tool mounted on a robotic arm that delivers welding current, shielding gas, and wire to the joint, allowing the robot to perform precise, repeatable welds on an automated line.
How do I choose between air-cooled and liquid-cooled torches?
Air-cooled torches suit light-duty jobs and short welds; liquid-cooled torches handle heavy-duty tasks and long cycles. Weigh material thickness, duty cycle, and production volume before choosing.
What safety gear should operators wear?
Flame-resistant clothing, welding gloves, safety glasses, a welding helmet with auto-darkening filter, ear protection, and safety shoes — protecting against sparks, heat, and UV radiation.
How often should I replace consumables?
Contact tips every 4–8 hours of arc time, nozzles and gas diffusers every 1–4 weeks, and wire liners roughly every 3 months, sooner under continuous use.
What are common problems with robot welding torches?
Wire-feeding issues, excessive spatter, and nozzle clogging are most common, usually from worn consumables, incorrect settings, or missed maintenance.
Can I use a robot welding torch for different metals?
Yes — Golden Globe torches can weld steel, aluminum, and other metals; select the right wire, shielding gas, and torch model for each material.
When should I contact the manufacturer for support?
Reach out after repeated torch failures, inconsistent weld quality, or issues that appear right after a process change — Golden Globe's team can help with troubleshooting, maintenance, and upgrades.
How do anti-collision features work?
Anti-collision devices stop the robot the moment the torch strikes an object, protecting both the torch and the arm and helping reduce downtime in automated cells.
Occupational Safety and Health Administration (OSHA). Welding, Cutting, and Brazing — Safety and Health Topics.
National Institute for Occupational Safety and Health (NIOSH), CDC. Welding Fumes and Manganese.
OSHA. Robotics — Safety Standards (ANSI/RIA R15.06, ISO 10218).
OSHA Technical Manual. Section IV: Chapter 4 — Industrial Robot Systems.
Wevolver. Robotic Welding: An In-Depth Guide.
Encyclopedia of Chinese Automotive Manufacturing (Encycam). Programming Industrial Robots: Offline vs. Online.